1. Remove nails and screws from your wall.
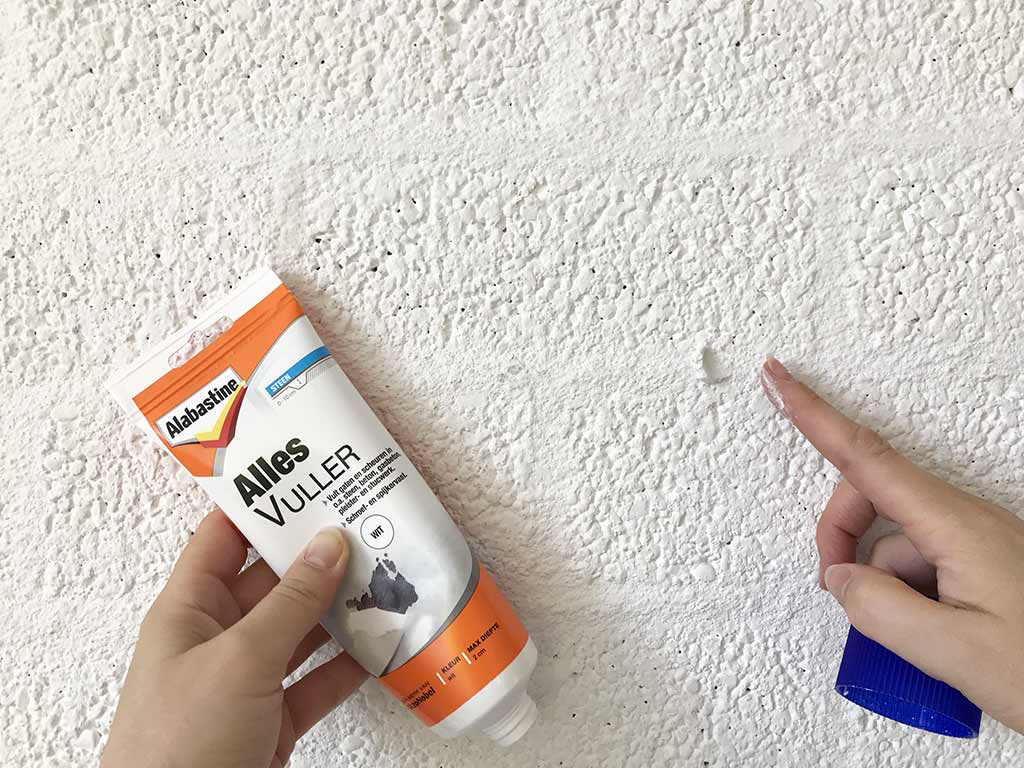
2. Fill all holes with a white wall filler (available ready-made in a handy tube).
3. Paint your wall white with latex paint.
STEP 1
Remove all items from your wall—a clock, previous artworks, spiderwebs, and nails and screws.
Cover the floor with cardboard, tarp, or another piece of plastic. (I use garbage bags).
Step 2
Fill all holes with white wall filler. There is also non-white filler. Which looks a bit gray. And there is also powder which you mix with water. The white wall filler in a tube is ready-made. Which can be sealed easily and re-used later. Imagine if you hammered a nail erroneously. You can take it out. And use a bit of the filler. And your wall will look great again.
In case you have sockets or a skirting board at the bottom of the wall. You can cover it with masking tape

Step 3
How many layers you need to paint depends on several factors, such as the color of your surface. And the material of your surface. When your wall is more porous it will absorb more paint. Also the quality of your paint matters. If it is very diluted, you will probably need more layers to get it truly white.
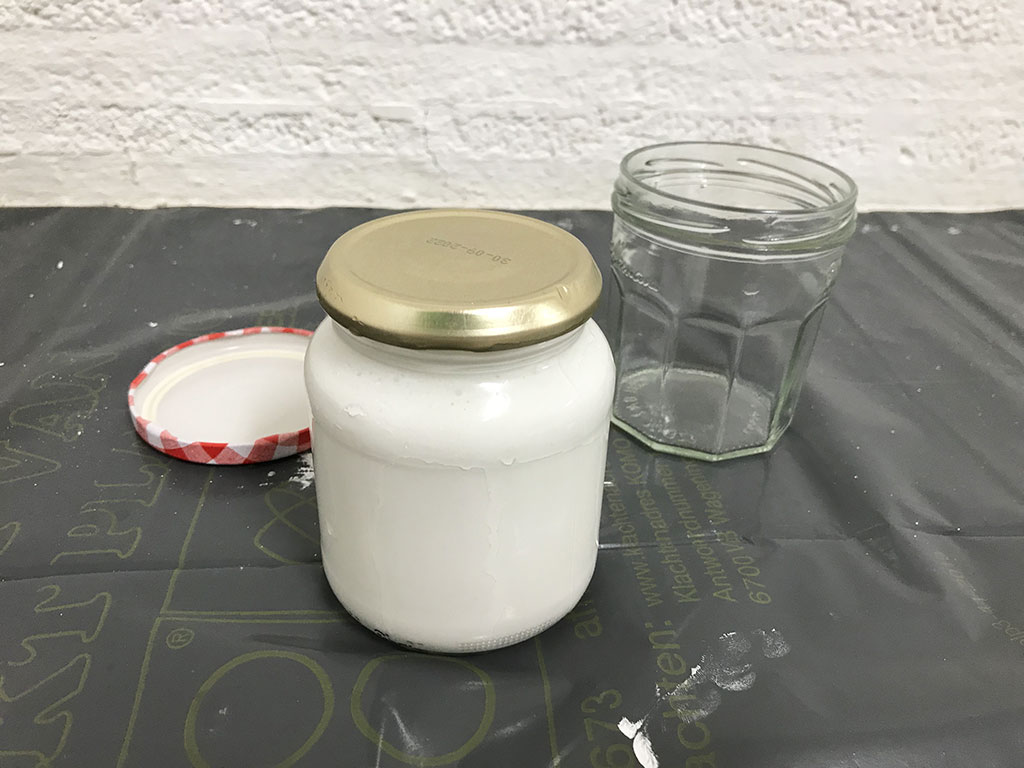
If you have paint left. Keep it in a jar. In case of accidents, you can clean the spot and apply some of the leftover latex.
What wall will you choose to hang your art? And why? Let us know in the comments below…
Insider Art News
Do you like this type of art and this kind of information?
Fill in your email and receive it directly in your inbox.